|
User assistance for content authors |
|---|
Creating managed segments in your web content library
You can create managed segments in your web content library so that you can target content to specific segments of users.
Before you begin
 Before you create Segments,
ensure that your system administrator has set up the proper access control permissions. Go to the
Access permissions for Business Rules table in Access permissions for more information.
Before you create Segments,
ensure that your system administrator has set up the proper access control permissions. Go to the
Access permissions for Business Rules table in Access permissions for more information.About this task
Procedure
- Click the Applications menu icon. Then, click .
- From the Library Explorer, click .
- Enter the Name and Display title of the new
segment group. The Display title is the text that is displayed as the segment
group name in the Add Segments dialog when you configure a spot for targeted
content. If you do not enter a display title, the name of the segment group is displayed by default.
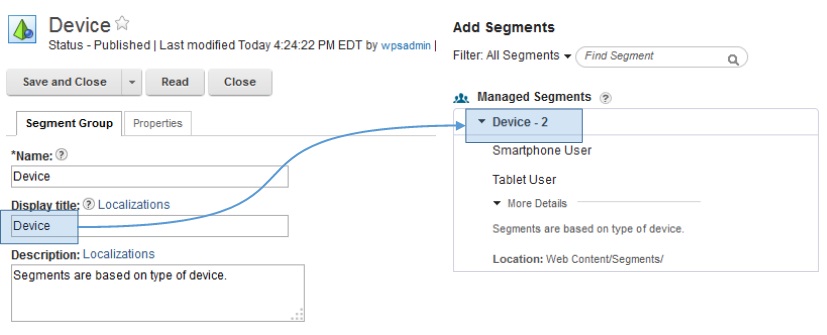
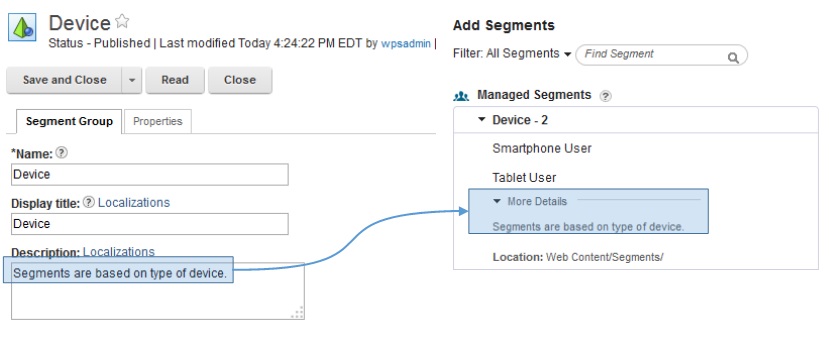
- Optional: You can enter a description of the segment group in Description.
Descriptions are especially useful if multiple content authors are creating targeted content and
need to understand what kinds of segments are included in each segment group. If you enter a
description, it appears in the More Details section of the Add
Segments dialog.
- Select the Location where you want to save the segment group.
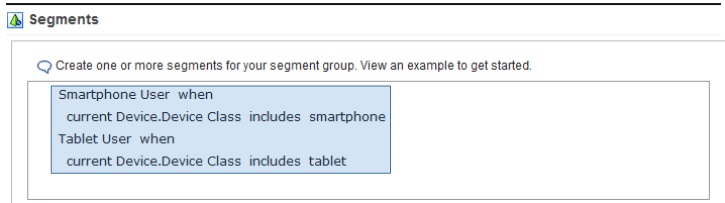
- Add segments to the segment group. You can add one or multiple segments to the group. After you
click Save, a summary view of your new segments appears. For example, if you
add segments that are called Smartphone User and Tablet
User to the segment group, you see the name, attribute, and condition of each new
segment in the summary view. To learn more about adding segments through an example, see Example: Creating managed segments.
- Click Save and Close.
What to do next
CF08 limitation: A segment, that is stored in a
segment group, is used to target content. Therefore, a content item is associated with this segment
in a content targeting rule. When this content targeting rule is run when the page that contains
that web content viewer portlet is loaded, the segment group is cached by Personalization. Afterward, the cached segment group is used until
the cached entry times out. Any edits to the segment group do not invalidate the cache. Therefore,
any updates to any segments are not reflected with the content targeting until the cached entry is
expired due to timeout. This timeout takes approximately 5 minutes by default. This limitation will
be addressed in a future Combined Cumulative
Fix. Contact your Administrator to change the cache
timeout in the Personalization settings file. You can also refresh the cache by running the Personalization rule in preview.Note: If you do not want to
see managed segments in the Add Segments view, your developer can disable the managed segments.
Learn more about enabling and disabling managed segments at Enabling and disabling segments in the
Add Segments view in the IBM Knowledge Center.
- Example: Creating managed segments
Learn more about creating managed segments through an example.